
ElectrumG User Guide
ElectrumG offers a great alternative to the Bitcoin Gold Core Wallet. With its small install size and fast loading time, it will allow you to start using your BTG quickly! ElectrumG currently handles both SegWit and Multisig addresses with support for Bech32.
ElectrumG has many other features, but this guide will show you how to set up and use your ElectrumG wallet for both trading and storing your Bitcoin Gold.
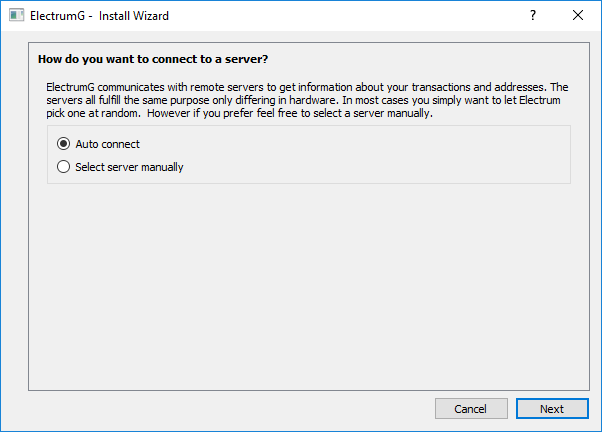
When you first open the wallet you will be prompted to choose a server; it’s recommended that you choose Auto connect. Only select a server manually via the options if you are having issues connecting to the main ElectrumG servers.
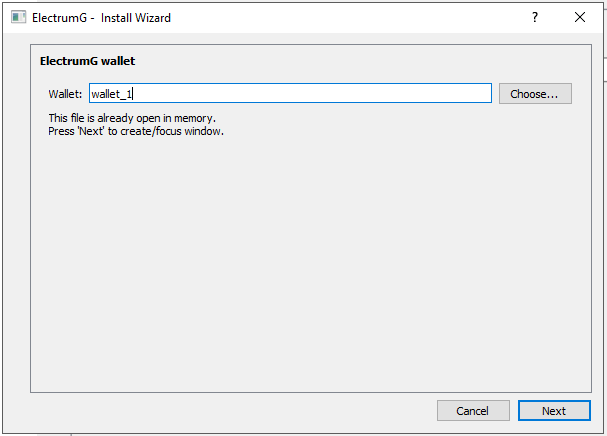
After opening ElectrumG you will be prompted to create a new wallet or choose an existing one (if you have used ElectrumG before). You can name your wallet anything you like, and it’s recommended to save it in a secure location.
After naming your wallet file, you choose a kind of wallet: standard wallets will be best for most users are simplest to use. They have a single private key, used to sign transactions.
Multi-sig wallets have multiple private keys; each person holding a key can sign a transaction. If set for single-signature withdrawal, the wallet is less secure but allows multiple people access to a single account, like “petty cash.” When set to require multiple signatures, it allows groups to secure funds by requiring many cosigners to send funds. (Individuals can use the multi-signature method for high security by storing their keys on computers in separate locations, so that a transaction cannot be signed without access to multiple places.)
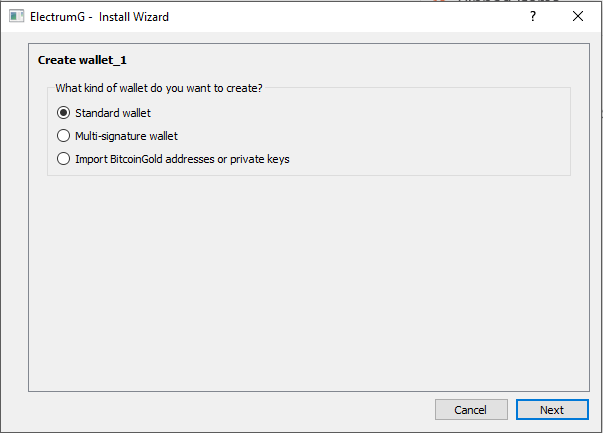
The third option will allow you to import your pre-existing keys: if you import only a public key, this will create a ‘watch only’ wallet to track and receive transactions with no ability to send coins.
If you import a private key the wallet will be able to send coins, as well. (This is also where you would import a private key from a Bitcoin (BTC) address which held Bitcoin before the the Bitcoin Gold fork to gain control of those forked BTG.)
Let’s assume you’re creating a new standard wallet, which will have a single private key.
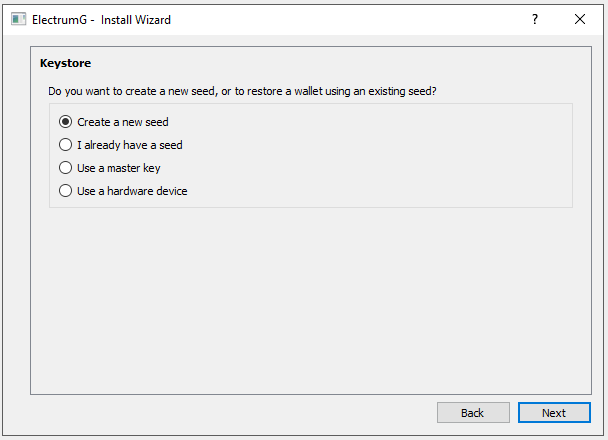
The next page shows a few options:
- “Create a new seed” will generate a 12 word phrase for your wallet; do not share this with anyone.
- If you already have a 12 word seed from a previous wallet you can import it into the wallet – this is a way to swap providers or use multiple computers.
- A master key is similar to a 12 word seed and is another way to import a pre-existing wallet into ElectrumG. (Known in BTG Core as the master key of an HD – Heirarchical Deterministic – wallet.)
- A hardware device with Bitcoin Gold support will automatically sync with your ElectrumG wallet; all you have to do is unlock it and use this option. (This option is no available in the first release of ElectrumG.)
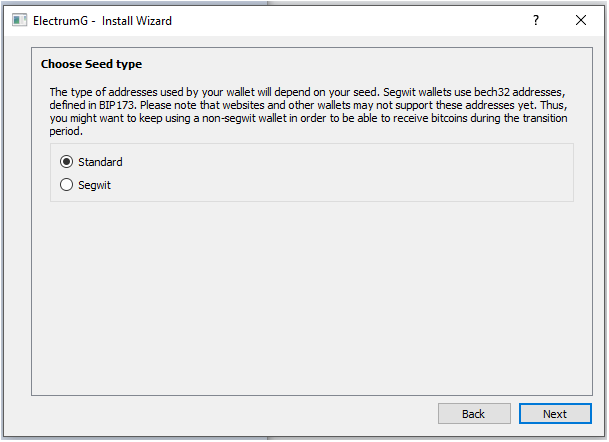
Let’s assume you’re creating a new seed for a new wallet. You will be prompted to either pick Standard (original style) or SegWit (Bech32) address. While SegWit will have more support later from other software and systems, it’s currently recommend to use a Standard wallet for simplest use unless you understand how and why to use SegWit.
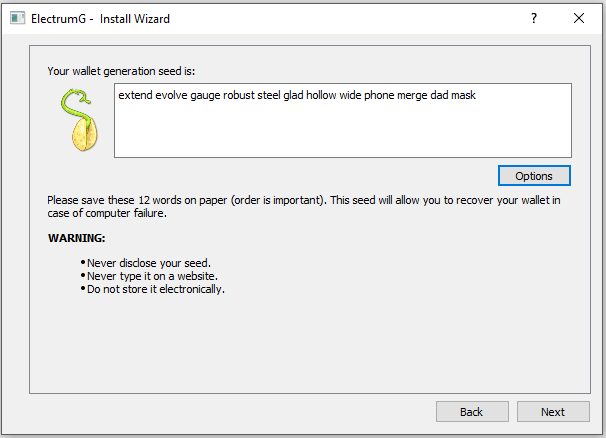
For this guide we will use Standard. After you have chosen your seed type you will be given a 12 word phrase like the following one:
Pay close attention to the warning. You must write down, print, or record your 12 word phrase and store it in a secure location. If you lose this phrase and suffer a computer/wallet malfunction you may lose your BTG forever, we will be unable to assist you in this scenario.
Advanced users may enable custom phrases via Options to extend the password phrase – not recommended for basic users.
After you have your 12 word seed, you will be forced to type it out to confirm you have it written down or printed (you can’t copy-paste between these steps). It’s best not to not store your 12 word seed on your computer, but if you must, keep it in an encrypted folder or external usb device.
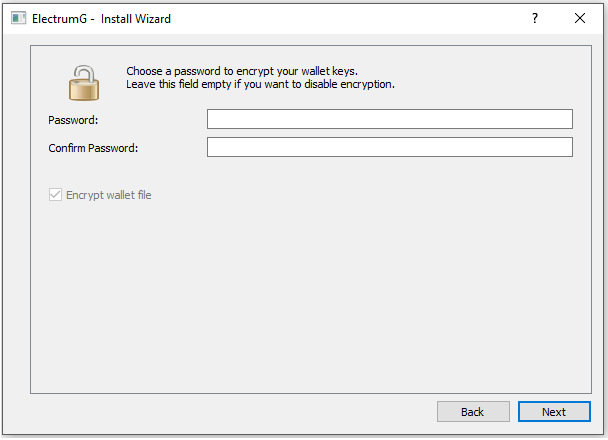
After confirming your 12-word seed you’ll be prompted to create one final password for your wallet. This is the password you’ll need to type every time you start up the software. This is optional but it’s recommended in case of computer hijacking or remote hacks – or if anyone else has access to your computer.
Choose a strong password and write it down; I personally recommend using a hex key (you can find online generators at your own discretion.) You also have the option to encrypt the wallet file store on the computer’s hard drive – adding one last level of security.
Your wallet is now set up and will need to connect to an ElectrumG node. This will be automatic in most cases, but again if you run into trouble and need help, please contact support. After your wallet connects to a node and syncs up to the current state of the blockchain, you’re ready to send and receive coins.
There many options available from here and this document can’t cover them all. You’re free to check out any options/settings you like, but if your wallet contains real funds, it’s best not to change anything that you aren’t familiar with.
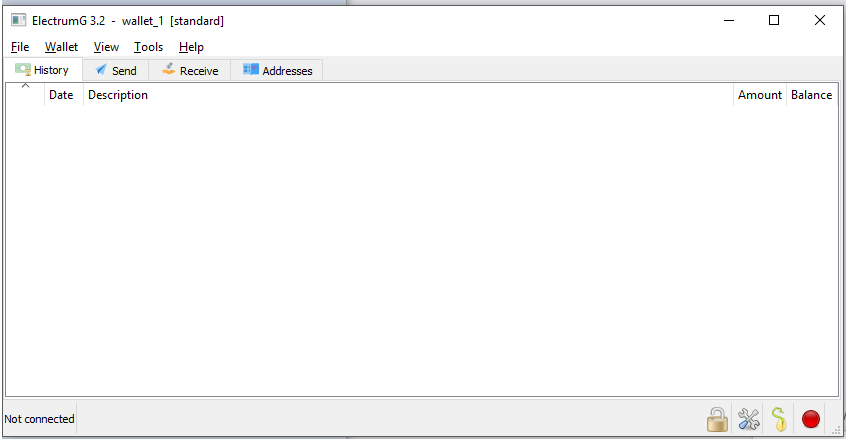
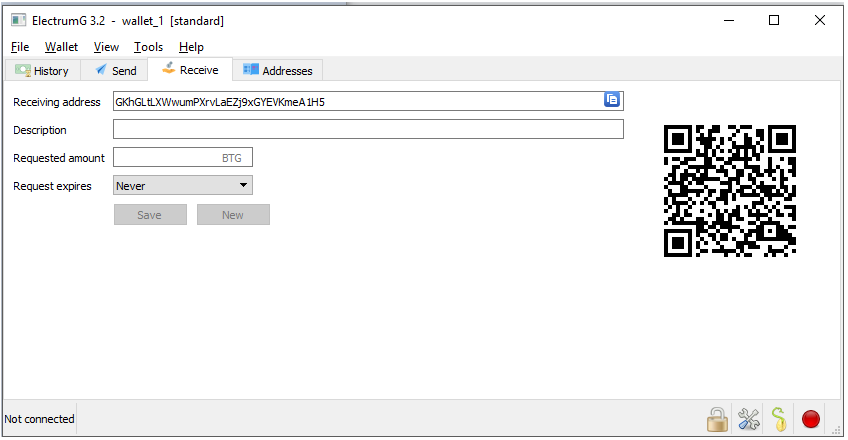
To receive BTG, select the Receive tab and you will be given an address to share. This is the address you’d use to withdraw your funds from an Exchange, for example. The receiving address is also embedded in the QR code that appears, if case you want to offer that to someone in order to pay you.
You can add a description or set the amount you wish to be paid, and those details will be embedded in the QR code for you. You can then send the image or have someone scan the code right from your screen.
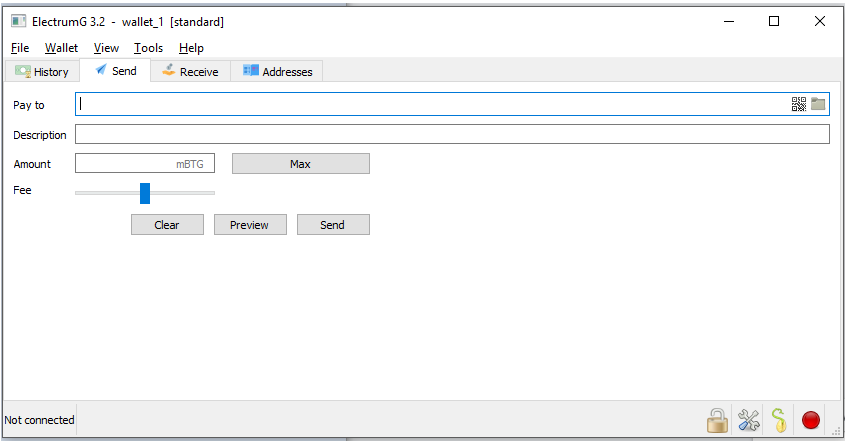
Finally, using the Send tab will allow you to transfer your BTG to any marketplace, exchange or other user via their BTG address. You may add a description which shows up in your history in ElectrumG.
The fee slider bar lets you manually choose the included fee when sending your BTG. If the network ever gets congested, this will let you prioritize your BTG transfer by paying a larger fee. The default target is fine for most people and the fee is minimal at this time.
To summarize, ElectrumG allows users to have a basic lightweight wallet that’s simple to use, but with advanced features at their fingertips when they need them. With full Bech32 support on the way for all wallets, ElectrumG is a future-ready choice highly recommended by the BTG team.
If you are having any trouble importing your wallet, or on any other step, you are always welcome to contact the BTG support team and we’ll be happy to assist you.
*The 12 word seed pictured here is for testing purposes only and should not be used on your own wallet. You should never give your own 12 word seed or your private key to anyone.
 币世界
币世界